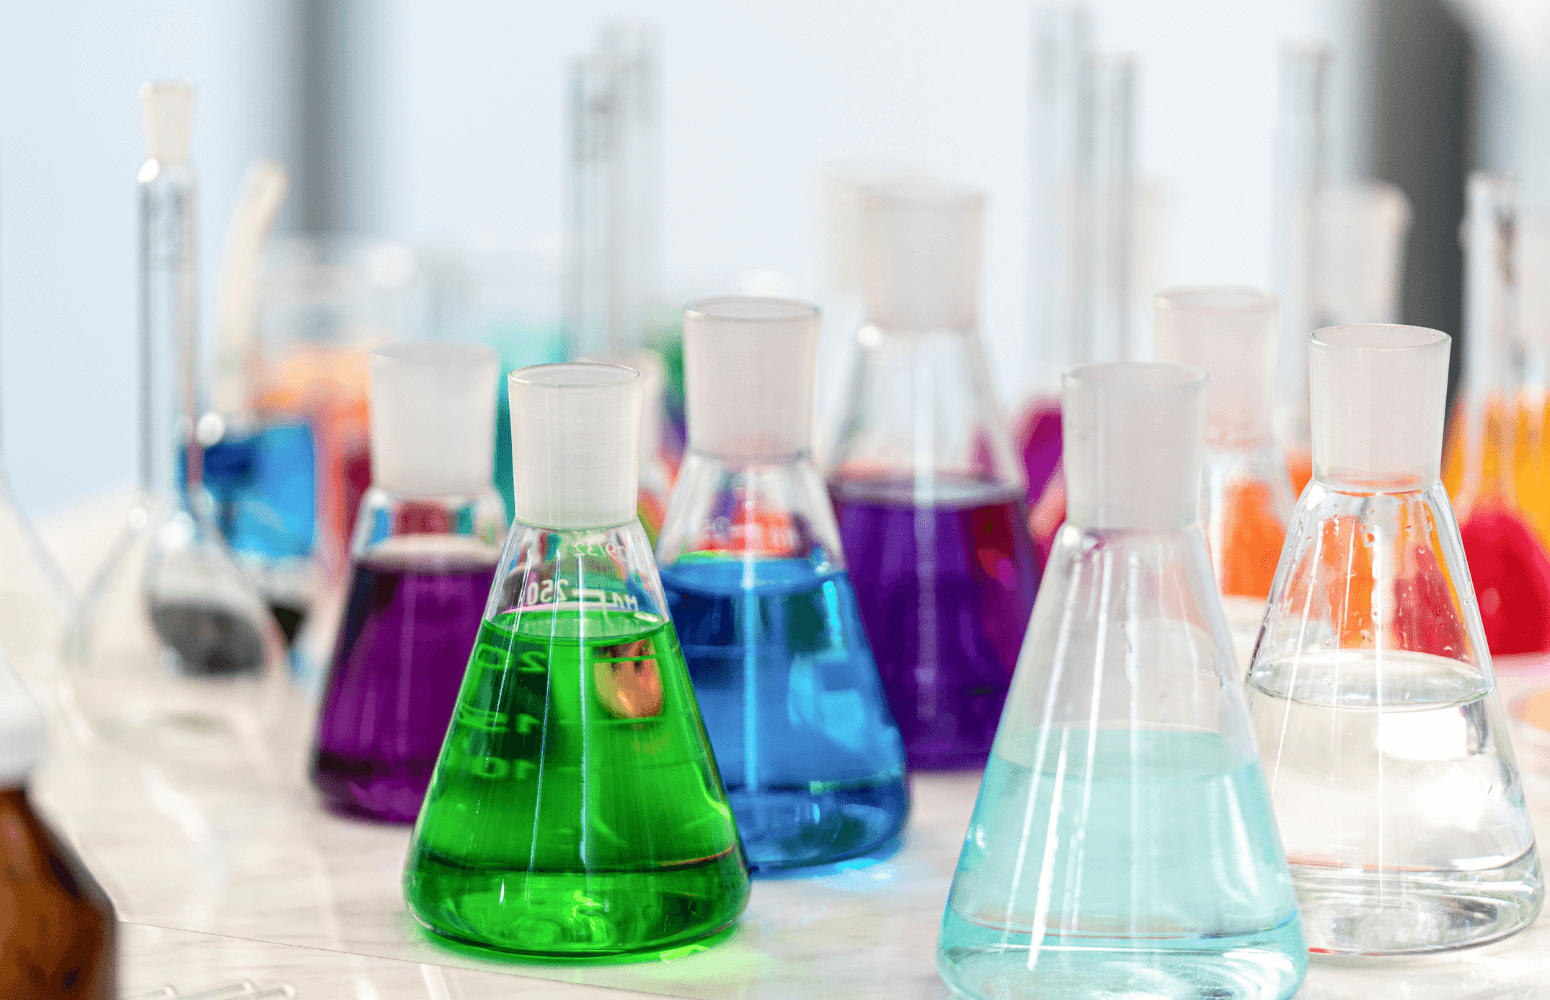
Picture a science experiment that’s educational and visually appealing, and you’ve got yourself a science experiment with food coloring. These experiments are a fantastic way to explore various scientific concepts and an excellent means to unleash children’s creativity and curiosity.
Food Coloring Science Experiments: An Overview
Science experiments with food coloring involve using food coloring to demonstrate scientific principles in a vibrant, fun, and hands-on manner. They provide an exciting and interactive way for kids to learn about different scientific concepts such as density, dissolving, diffusion, and chemical reactions.
These experiments are easy to set up and require household items like milk, oil, water, and food coloring. They are ideal for home-based learning, science fairs, or fun-filled family activities.
Getting Started: What You’ll Need
Before we dive into the world of color-filled science experiments, let’s first gather the necessary materials. Here’s a basic list of supplies you’ll need for most food coloring experiments:
- Food Coloring: A variety of colors for more visual appeal
- Liquid: Commonly used fluids include water, milk, and oil
- Dish Soap: Helps to break the surface tension of liquids
- Shallow Dish or Bowl: A transparent one is preferred for better visualization
- Pipettes or Droppers: For adding the food color drops
- Other materials: Depending on the experiment, you may also need items like baking soda, vinegar, or fizzy tablets.
Remember, safety comes first. Supervising children while conducting the experiments is crucial, especially when using potentially messy substances like food coloring.
The Magic of Food Coloring: How it Works
Food coloring is not just for baking and cooking. It’s a fantastic tool for demonstrating various scientific concepts. Here’s a brief explanation of how food coloring works in science experiments:
Density: Density refers to the amount of matter in a given space or volume. In experiments involving oil and water, the food coloring stays in the water because water is denser than oil.
Dissolving and Diffusion: Food coloring can dissolve in water but not in oil. When a drop of food coloring is added to water, it spreads out or diffuses, coloring the water.
Chemical Reactions: Food coloring is used to visualize chemical reactions in some experiments. For example, when vinegar (an acid) and baking soda (a base) are mixed together, they react to produce carbon dioxide gas. Adding food coloring to this reaction can make it more visible and exciting.
10 Colorful Science Experiments with Food Coloring
Are you ready to dive into the colorful world of science? Here are ten exciting science experiments with food coloring that you can try at home or school. These experiments are not only informative but also visually captivating, making learning a fun and engaging experience.
Experiment 1: Colorful Milk Fireworks

This simple yet visually stunning experiment uses milk, food coloring, and dish soap to create an explosion of colors resembling fireworks.
Materials Required:
- Milk (whole or 2% works best due to the fat content)
- Food coloring (multiple colors)
- Dish soap
- A shallow dish or bowl
Steps to Follow:
- Pour enough milk into the shallow dish to cover the bottom.
- Randomly add multiple drops of different food colors to the milk.
- Add a drop of dish soap to the center of the dish.
- Watch as the colors burst and move around, creating a fireworks display.
The Science Behind it:
This experiment demonstrates the concepts of surface tension and the reaction between the fat in the milk and the dish soap. The soap breaks the surface tension of the milk by dissolving the fats and proteins. This reaction causes the food coloring to move, creating the effect of fireworks.
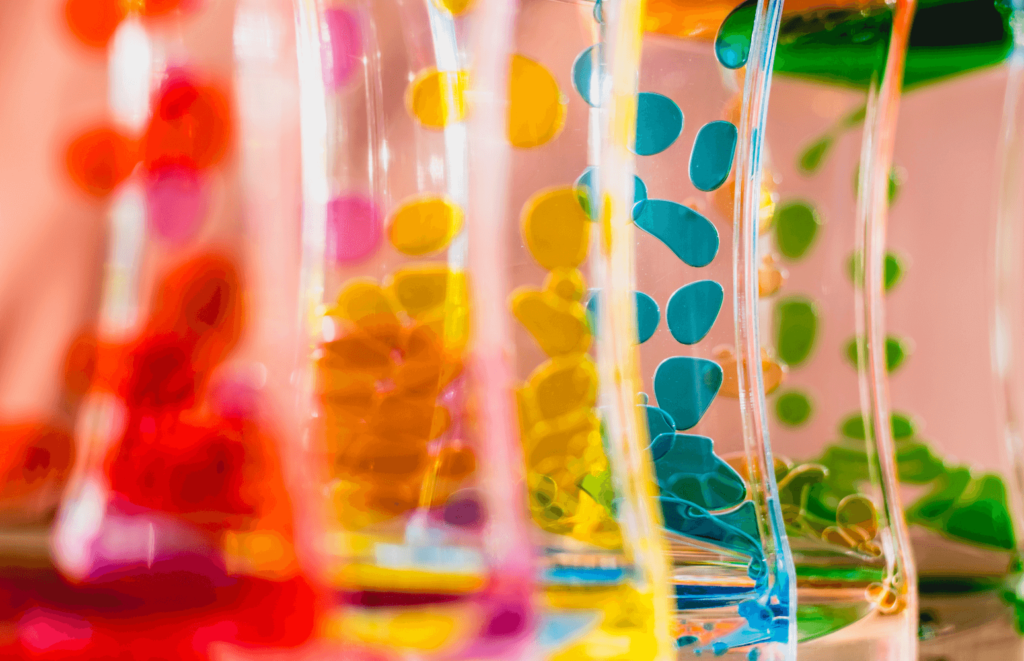
Experiment 2: Walking Water
The walking water experiment is a fun and easy way to explain the scientific concept of capillary action to kids.
Materials Required:
- Clear glasses or jars
- Water
- Food coloring
- Paper towels
Steps to Follow:
- Fill every other glass with water.
- Add a different color of food coloring to each glass filled with water.
- Fold a paper towel lengthwise and place one end in a glass with water and the other end in an empty glass. Do this for all the glasses.
- Watch as the colored water “walks” up the paper towel and into the empty glass.
The Science Behind it:
This experiment demonstrates capillary action, which is the ability of a liquid to flow against gravity in narrow spaces. The water moves up the paper towel by capillary action, and as it reaches the empty glass, it fills it up, creating a mix of the two colors.
Experiment 3: Color Changing Flowers
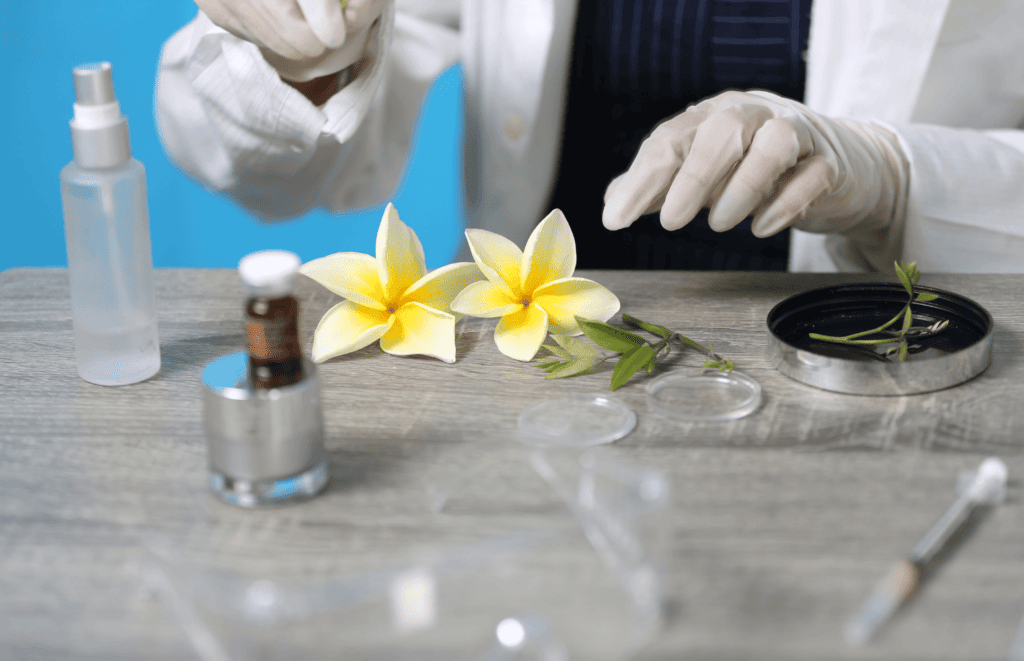
This experiment is a great way to show kids how plants absorb water through their stems. Plus, they get beautiful, color-changing flowers at the end.
Materials Required:
- White flowers (carnations work well)
- Vases or jars
- Water
- Food coloring
Steps to Follow:
- Fill the vases with water.
- Add about 20-30 drops of food coloring to each vase. The more food coloring you use, the more vibrant the resulting color will be.
- Trim the stems of the flowers and place each in a vase.
- Wait and watch as the flowers change color.
The Science Behind it:
This experiment demonstrates the concept of transpiration, which is the process by which water moves up a plant from the roots to the leaves. As the colored water is absorbed, it travels up the stem and into the petals, changing their color.
Experiment 4: Rainbow in a Jar
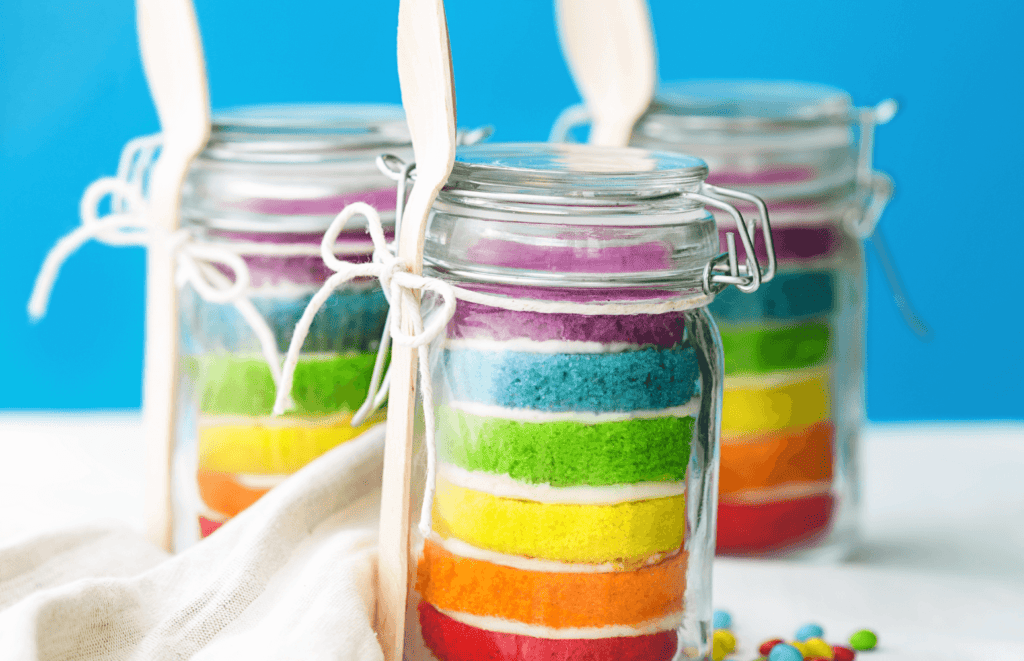
A rainbow in a jar is a visually appealing way to teach kids about density, making it a perfect food coloring project for a science fair.
Materials Required:
- A tall, clear glass or jar
- Different types of liquids (honey, corn syrup, dish soap, olive oil, rubbing alcohol, water)
- Food coloring
- Pipettes or droppers
Steps to Follow:
- Color each liquid with a different color of food coloring.
- Carefully layer the liquids in the glass, starting with the densest liquid at the bottom.
- Watch as the liquids separate, forming a colorful rainbow in a jar.
The Science Behind it:
This experiment demonstrates that different liquids have different densities. Even though they are in the same space, they do not mix because of their varying densities.
Experiment 5: Lava Lamp
A homemade lava lamp is a fun way to explore the interaction between oil and water, and it makes for a cool tabletop decoration.
Materials Required:
- A clear glass or jar
- Water
- Vegetable oil
- Food coloring
- Alka-Seltzer tablets (or any effervescent tablet)
Steps to Follow:
- Fill the jar about 1/4 full with water.
- Fill the rest of the jar with vegetable oil.
- Add several drops of food coloring.
- Break the Alka-Seltzer tablet into a few pieces and drop them into the jar.
- Watch the colored water bubbles through the oil, creating a lava lamp effect.
The Science Behind it:
This experiment demonstrates the principles of density and immiscibility. Oil is less dense than water, so it floats on top. The food coloring is water-based, so it sinks through the oil and mixes with the water. When the Alka-Seltzer tablet is added, it creates a gas, which forms bubbles that rise through the oil, carrying some colored water with it.
Experiment 6: Color-Changing Milk
This is another experiment that uses milk, food coloring, and soap, but this time to create a swirling color spectacle.
Materials Required:
- Milk (whole or 2% works best)
- Food coloring
- Dish soap
- Cotton swabs
- A shallow dish
Steps to Follow:
- Pour milk into the dish to cover the bottom.
- Add drops of different food colors to the milk.
- Dip a cotton swab into the dish soap, then touch it to the milk.
- Watch as the colors move and swirl around, creating psychedelic patterns.
The Science Behind it:
This experiment demonstrates how soap molecules can break down fat molecules in milk. The soap molecules chase the fat molecules, causing the food coloring to be pushed around, creating a swirling effect.
Experiment 7: Ice and Salt Experiment
This experiment uses ice, salt, and food coloring to create a beautiful, frosty landscape.
Materials Required:
- Ice cubes or crushed ice
- Table salt
- Food coloring
- A tray or shallow dish
Steps to Follow:
- Cover the tray with a layer of ice.
- Sprinkle salt over the ice.
- Immediately add drops of food coloring to the ice.
- Watch as the salt melts the ice, creating beautiful patterns and channels of color.
The Science Behind it:
This experiment demonstrates how salt lowers the freezing point of water. When salt is sprinkled on ice, it causes the ice to melt. The food coloring highlights the patterns and channels created by the melting ice.
Experiment 8: Rainbow Glass
This experiment requires a bit more setup than the others, but the results are worth it. It involves creating a density column with different colored layers of sugar water.
Materials Required:
- A tall, clear glass or jar
- Water
- Sugar
- Food coloring
- Pipettes or droppers
Steps to Follow:
- Create sugar water solutions of varying densities (add more sugar for higher density).
- Color each solution with a different color of food coloring.
- Carefully layer the solutions in the glass using a pipette, starting with the densest solution at the bottom.
- Watch as the solutions stay separate, forming a rainbow in the glass.
The Science Behind it:
This experiment demonstrates how liquids of different densities do not mix but instead form layers. The more sugar in a solution, the denser it is, so it sinks to the bottom.
Experiment 9: Floating M&Ms
This experiment uses M&Ms and water to demonstrate how colors can separate and float on the water’s surface.
Materials Required:
- M&Ms candies
- A shallow dish
- Water
Steps to Follow:
- Fill the dish with water.
- Carefully place a few M&Ms in the water with the “m” side up.
- Watch as the colors dissolve and spread out in the water, but don’t mix with each other.
The Science Behind it:
This experiment demonstrates how the colored coating of the M&Ms is soluble in water. As the coating dissolves, the colors spread out but do not mix with each other.
Experiment 10: Homemade pH Indicator
This experiment involves making a homemade pH indicator using red cabbage and testing different liquids to see if they are acidic or basic.
Materials Required:
- Red cabbage
- Water
- Different liquids (lemon juice, baking soda solution, soap solution, etc.)
- Clear glasses or cups
Steps to Follow:
- Chop the red cabbage and boil it in water to extract the color.
- Strain the cabbage pieces out, leaving a purple liquid. This is your pH indicator.
- Pour a little of the cabbage juice into each glass.
- Add a different liquid to each glass and note the color change. Acidic liquids will turn the cabbage juice pink, while basic liquids will turn it green.
The Science Behind it:
This experiment demonstrates the concept of pH, which measures how acidic or basic a solution is. Red cabbage contains a natural pH indicator that changes color in response to changes in pH.
Conclusion
Science experiments with food coloring are a fantastic way to make learning fun and engaging. Whether you’re a teacher looking for a captivating classroom activity, a parent seeking to supplement your child’s learning at home, or a student needing a standout project for a science fair, these experiments offer a colorful and hands-on approach to exploring scientific concepts.
Remember, the primary purpose of these experiments is to foster a love for science and create a platform for kids to explore and understand the world around them. So, don your lab coats, gather your materials, and let the colorful scientific exploration begin!